
We’re not an emailing tool. Which is why, initially, the emailing feature in Qualifio Manager only allows the insertion of content — without having a real possibility to easily stylize it. That’s why we decided to create email templates that you can integrate and customize in your own campaigns.
How to create beautiful emails in Qualifio Manager
- Select your email template:
Once you’ve downloaded the email template of your choice, unzip the .zip file. Inside the unzipped folder you will find a .docx and a .html with the email HTML code.
- If you have a HTML editing software (Sublime Text, Dreamweaver, etc.), open the .html document with it;
- If you don’t have this kind of software, open the .docx file on a word processor such as Microsoft Word or Pages.
In both cases, all you have to do is to select the whole text and copy it. Don’t change the code at this point.
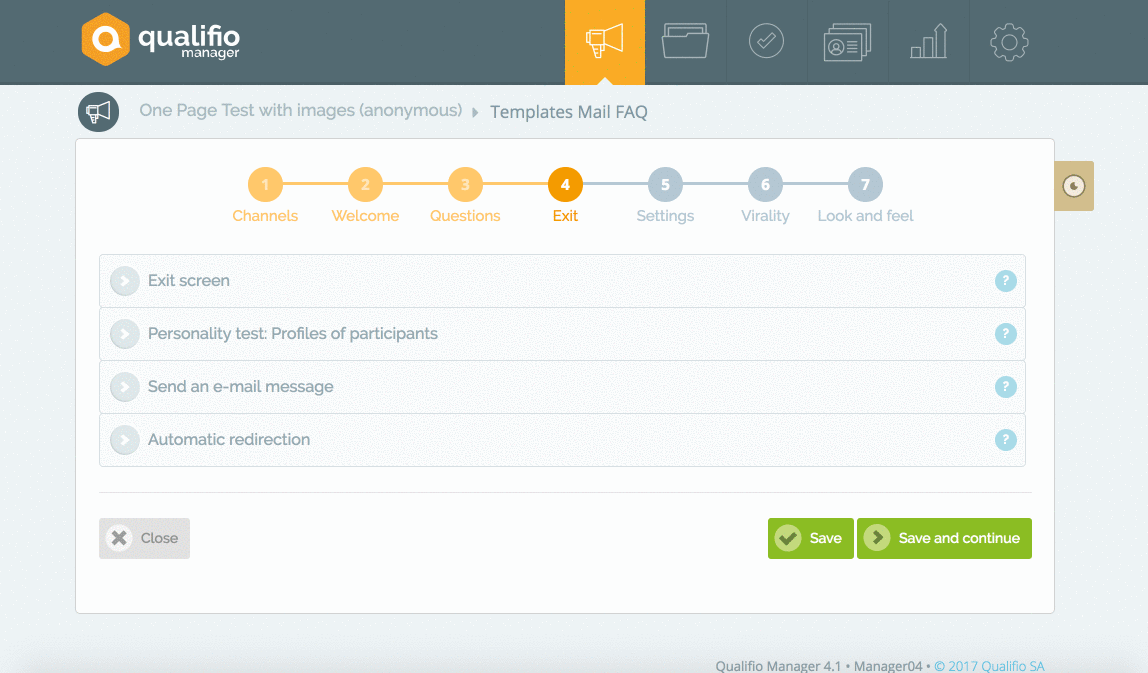
What types of email can I send from Qualifio?
1. Integration of the template in Qualifio Manager
Now go to Qualifio Manager, in the step where you want to integrate your email (Exit). When you are in front of the email editor, click the ‘Source’ button to switch to Source mode. There, you will find the basic HTML tags of an email structure. Delete all of them (since these are already present in the previously copied code) and paste the text you just copied into the .docx or .html file.
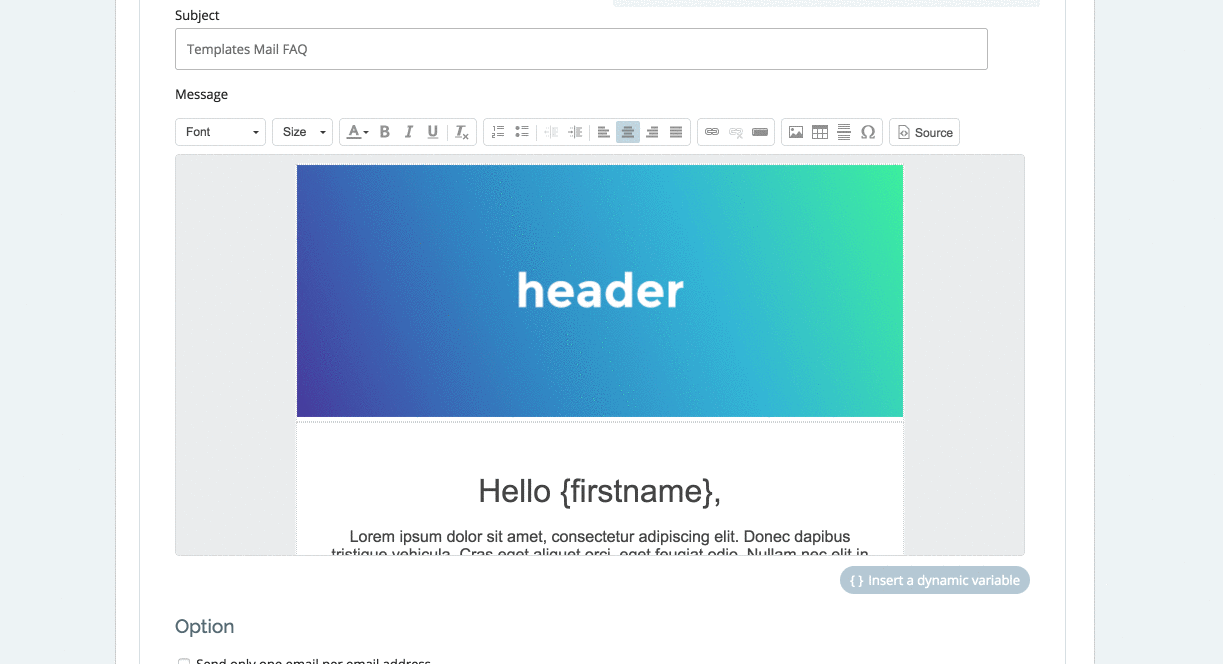
Then, you can click on ‘Save.’ You should now have the rendering of the email template you have chosen.
2. Customizing your email
It is of course possible to modify the text of the email, but also the visuals (header, footer, logo).
How to customize the text
This works the same way as for the rest of the texts in your campaign. So it’s possible to put titles, subtitles, specific colors, etc.
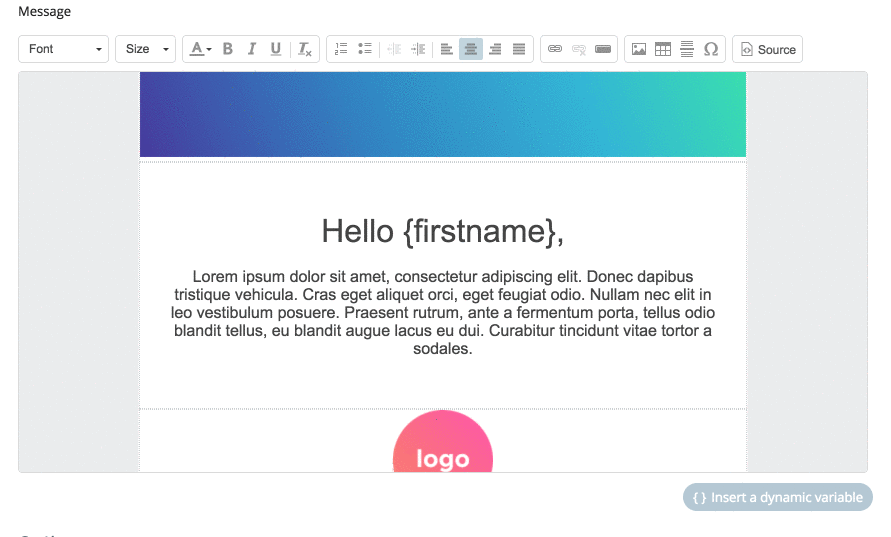
How to customize the visuals
- Double-click on the picture you want to edit (this will open a pop-up window);
- Click on ‘Browse Server’ next to the image URL (this will take you to the media library of your account);
- To add a new image, either drag & drop the image into the library, or click on ‘Upload’ to search among your Documents;
- Now that the picture is in your media library, double-click on it (this will take you back to your campaign);
- Click on ‘OK’ in the pop-up.
You should now see your new image instead of the old one in the email. You can do the same for all the images (header, footer, logo).
Don’t forget to save all of your changes. Happy emailing!